BRING YOUR VISION INTO ACTION
Discover a killer checkmating pattern to seize victory when your opponent’s king hides behind their castle walls.
Topic 1

A back rank checkmate happens often when the king is castled. Sometimes a rook or queen can sneak all the way to the back and deliver checkmate.

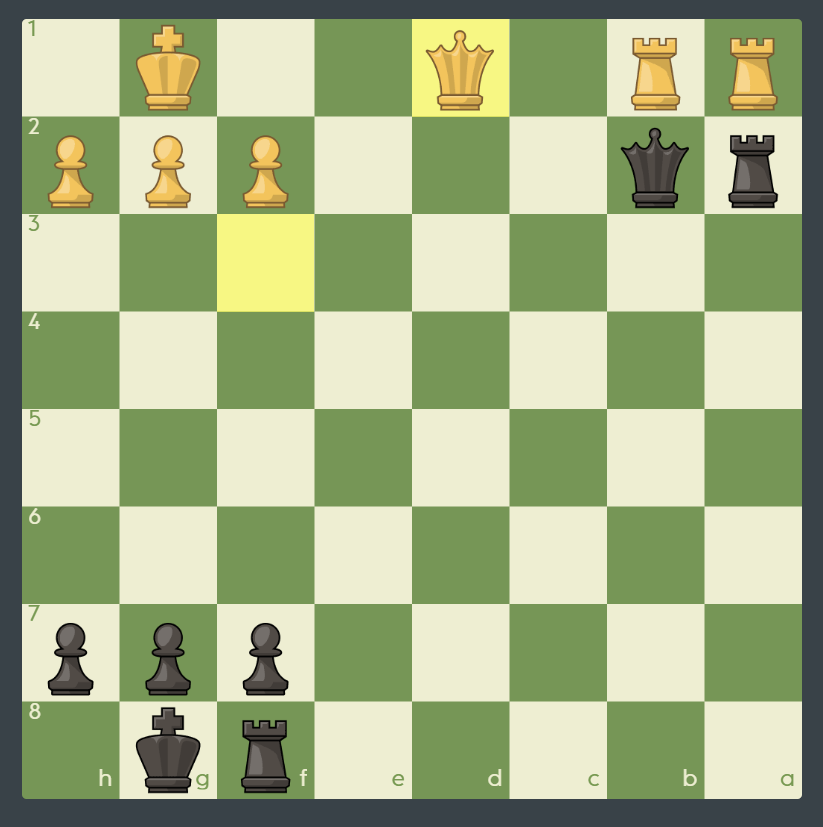
Hmm, why didn’t White defend the b4-pawn?
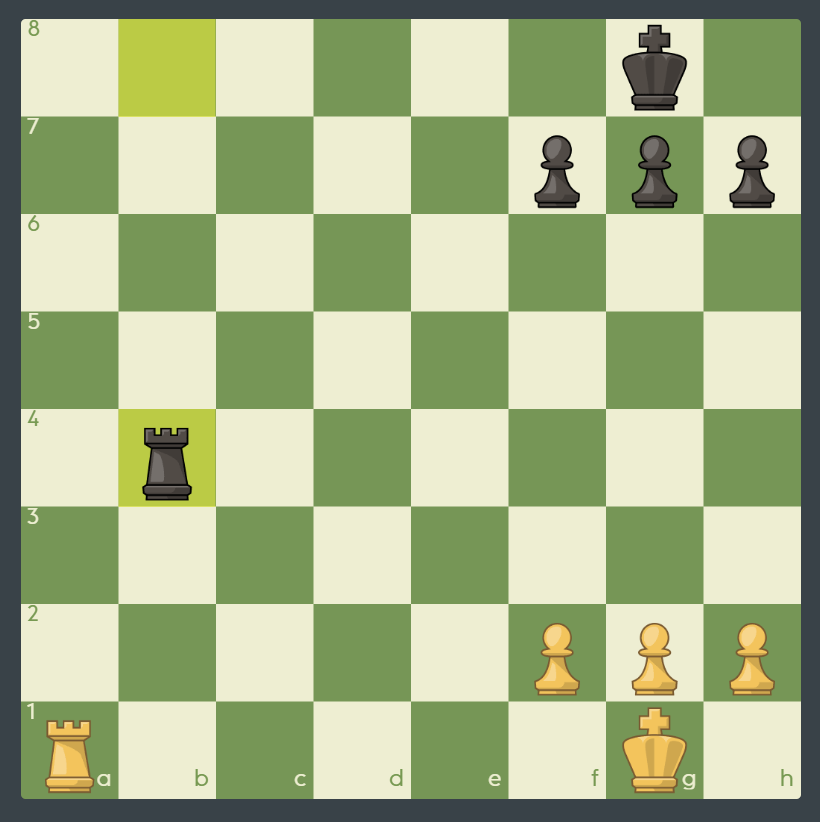
Before grabbing a free pawn, you should be alert to your opponent’s tricky plans. Here, Black could have prevented any back rank checkmate by creating some space for his king with …g6, or …h6. Black could also play …Kf8, giving him a way out.
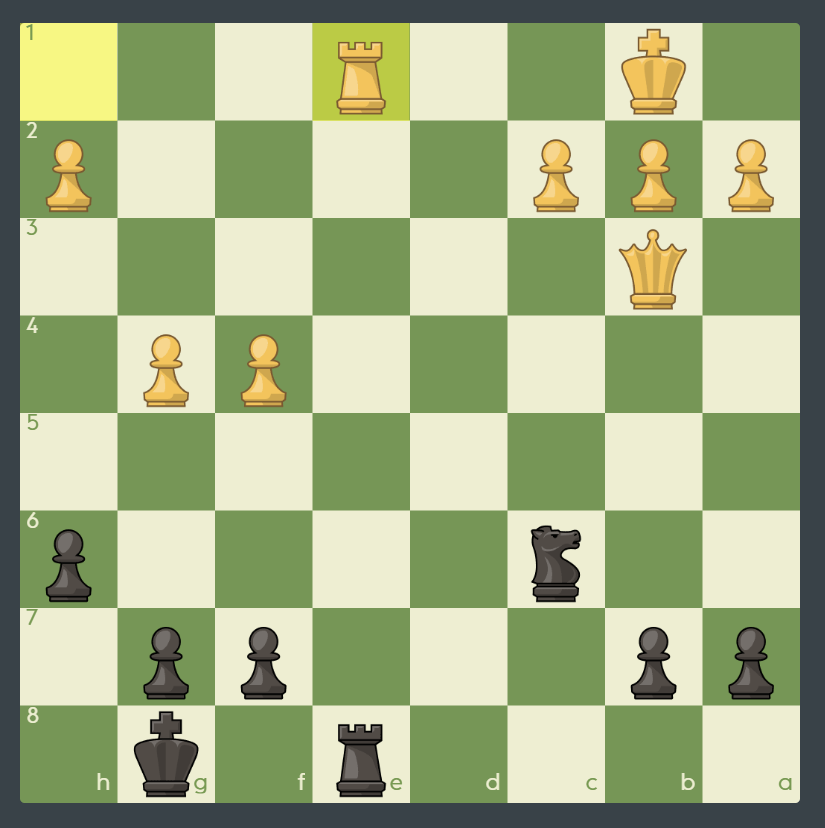
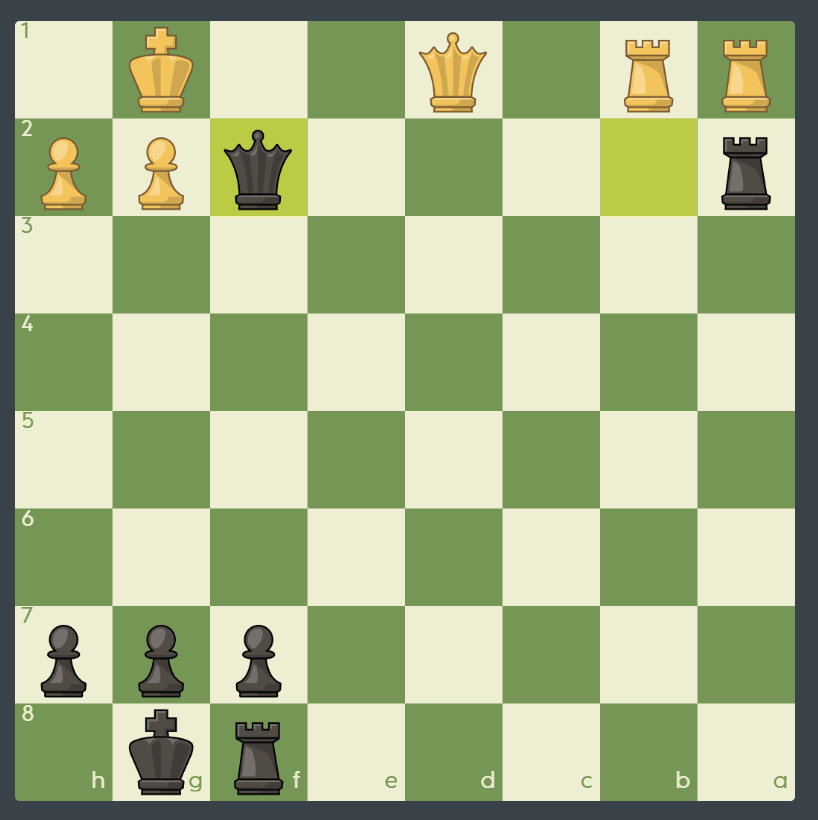
Here we must pounce on Black’s back rank. How do we do that?
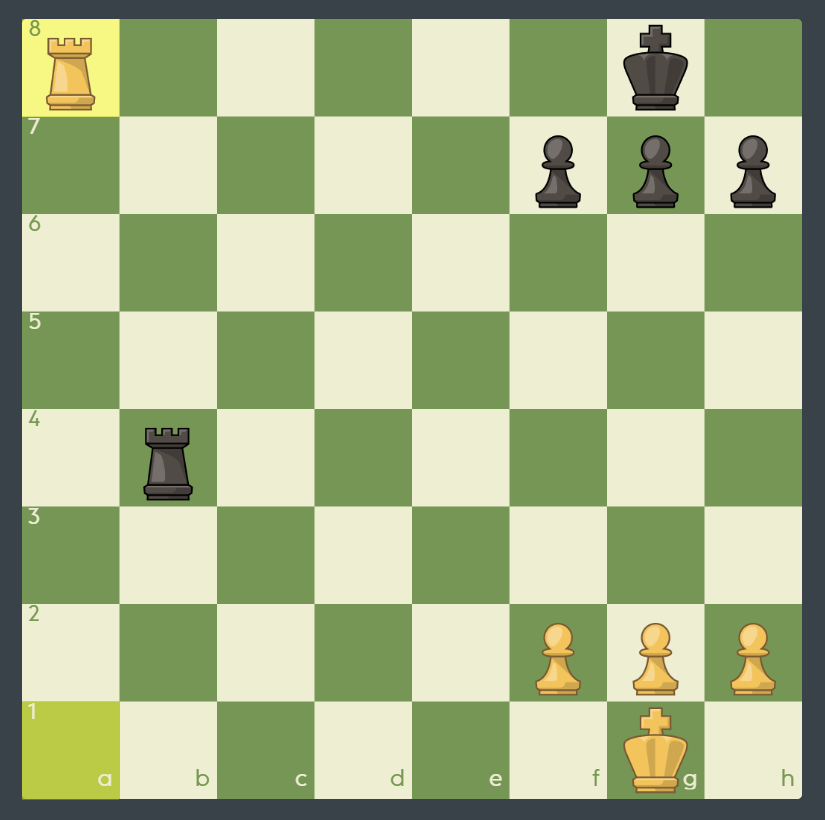
Oops! The rook is checking the king. Usually this is not such a big deal, but here Black’s own pawns are preventing the king from moving up the board — just the same as if White had a second rook on the 7th rank.
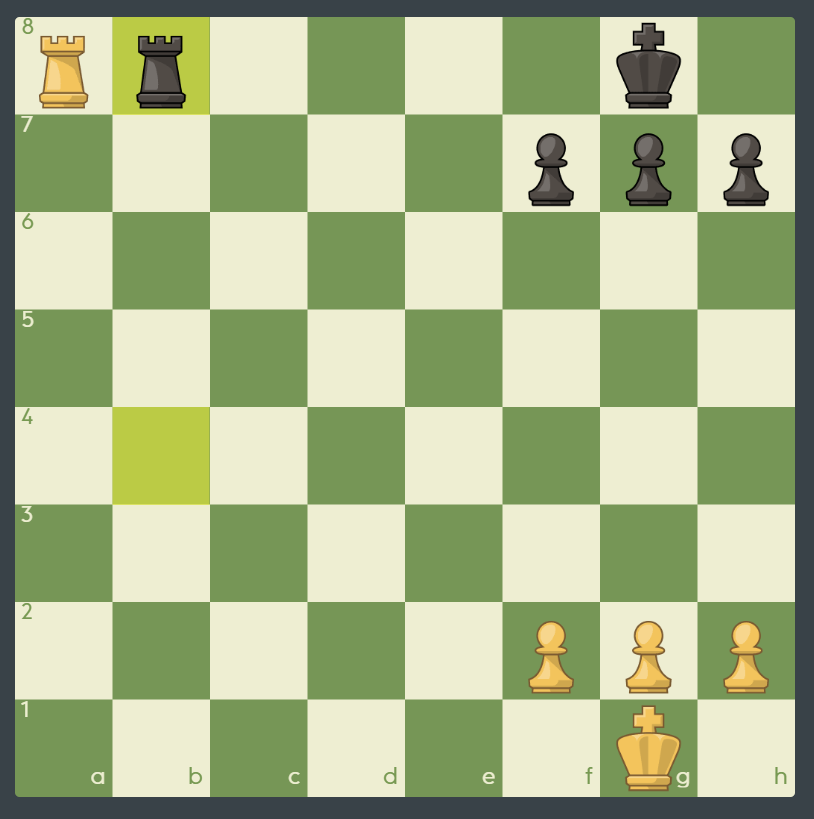
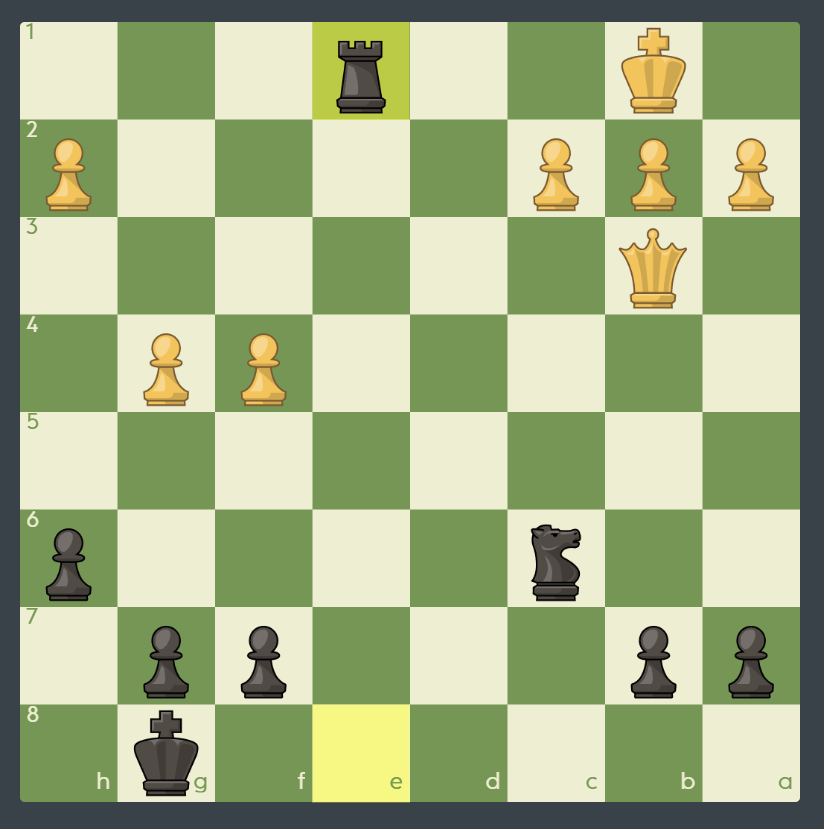
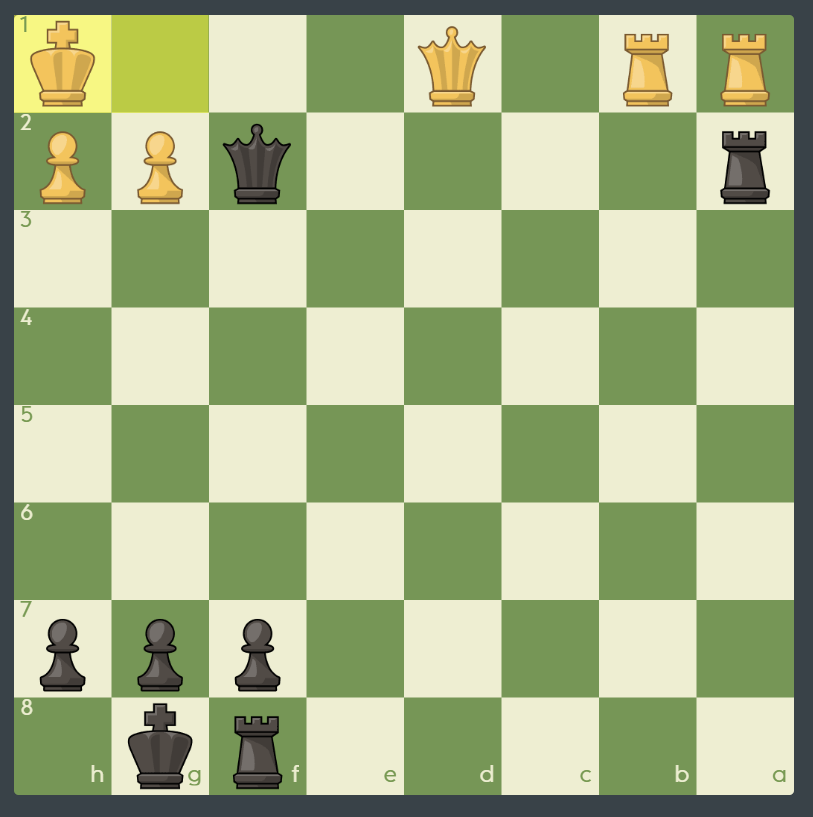
This is Black’s only way to stop checkmate. But all it does is delay it by one move.
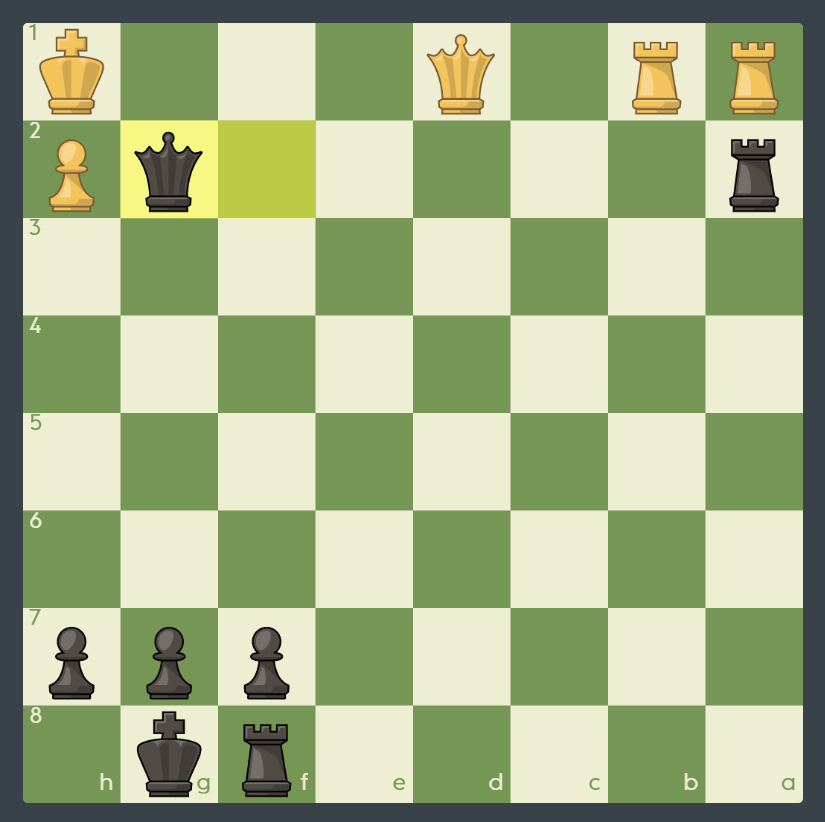
Now finish the job White started by checking on the back rank!
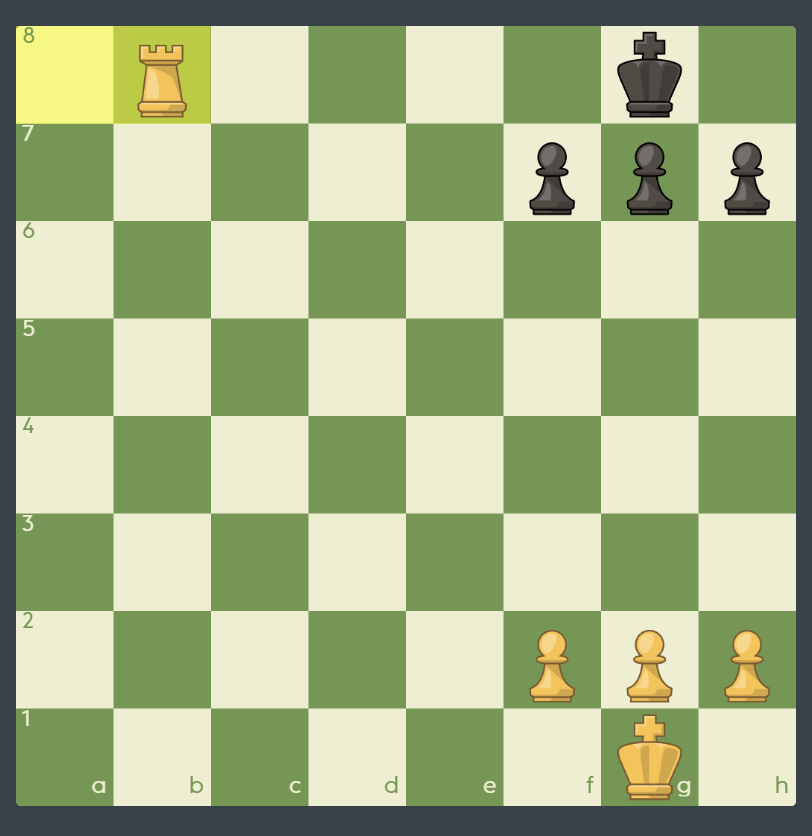
Checkmate on the back rank. Watch out for kings that are trapped on their back rank, because rooks or queens can suddenly zip down there and checkmate!
Topic 2
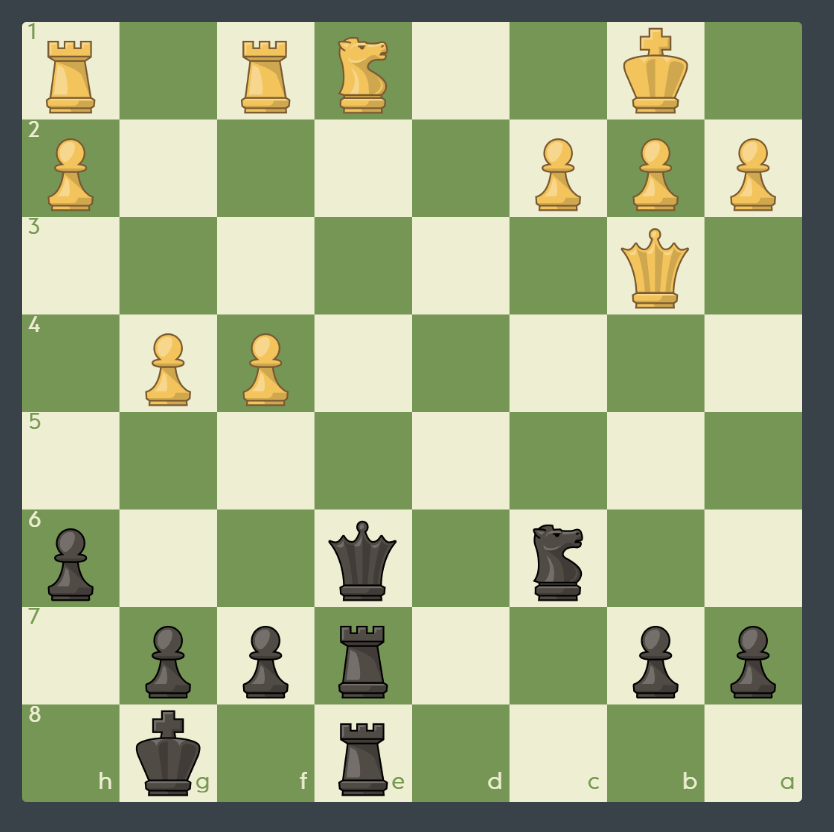
It’s time for some practical game positions. White is trying to trade Queens. Would Black really give up the queen for White’s knight?
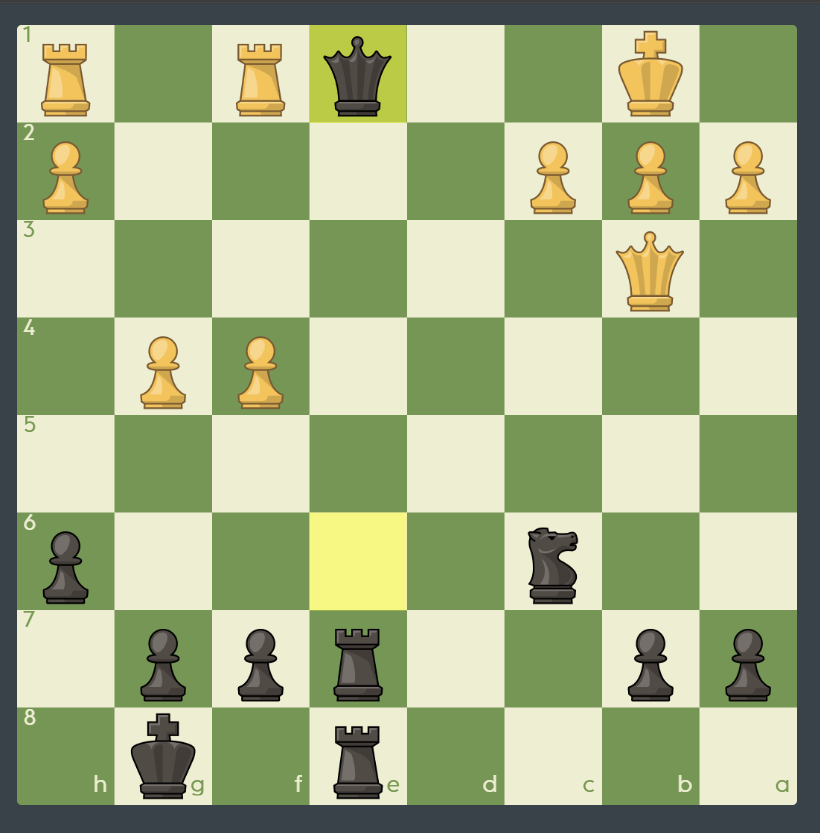
Yes! If it leads to checkmate, we should give up our queen for any piece!
The only move.
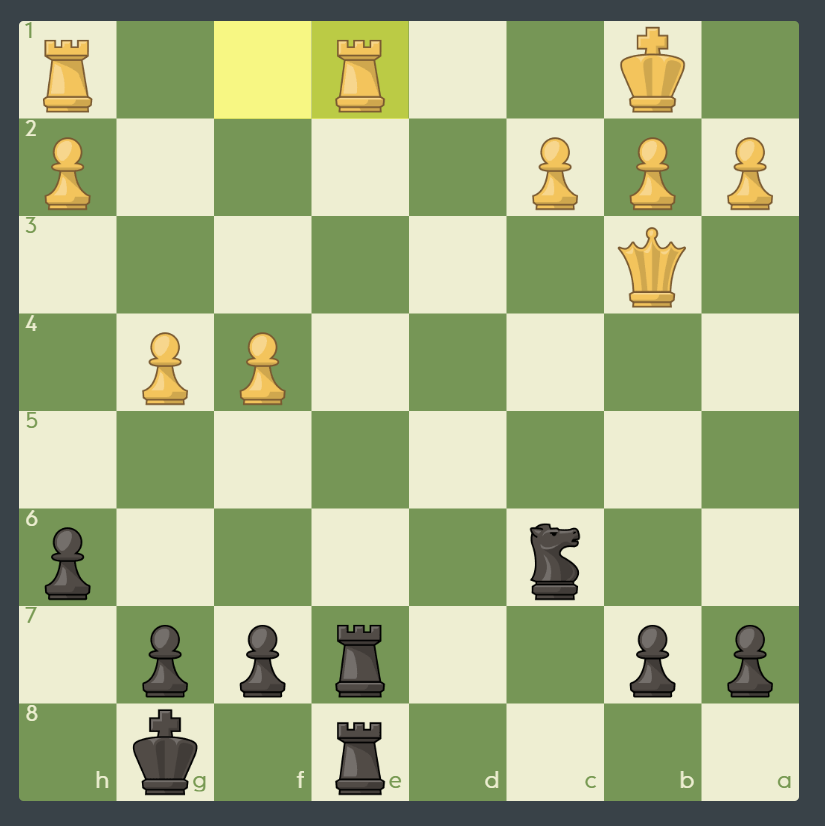
You’ve sacrificed your queen already. Was it worth it?
Of course! You have to keep the attack on the back rank going, or giving up your queen will be pointless.
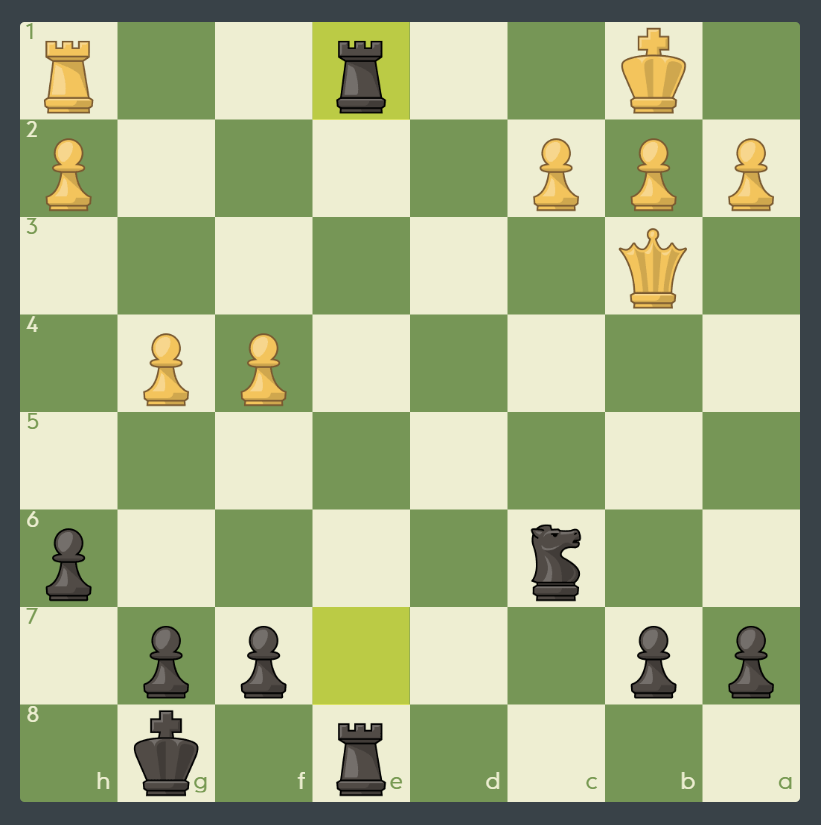
The only recapture….
There’s only one way to go!
The perfect way to end things!
Topic 3
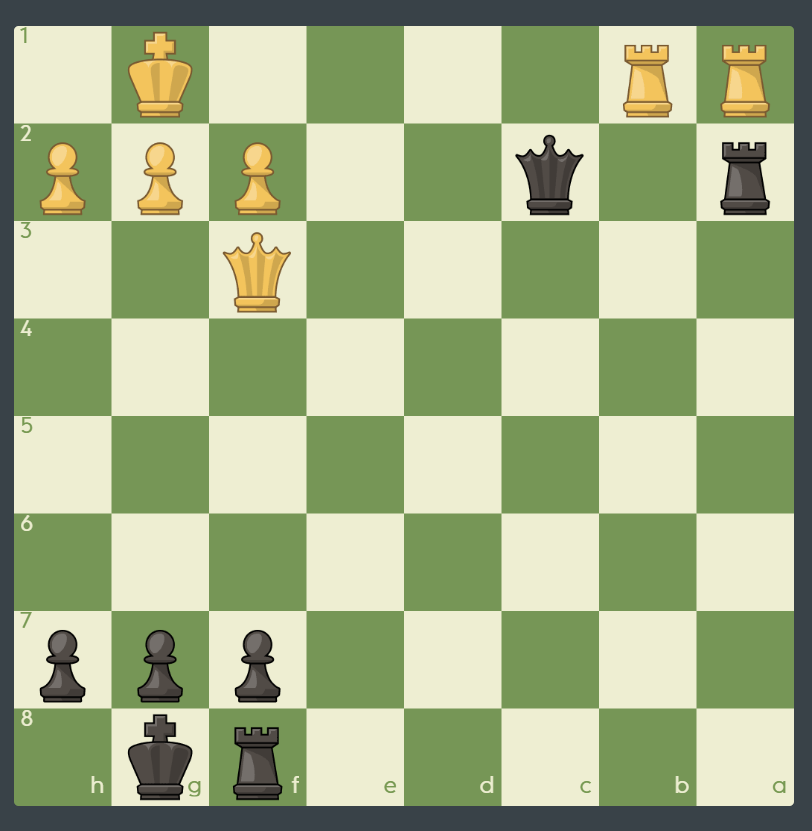
The first move is very challenging to find. How can we pile up the pressure on White’s a1 rook and keep pressure on the back rank?
Such a great move! White can’t take on b2 because Black will take the rook on a1, leading to checkmate soon. White also can’t capture the a2-rook, because Black will take the b1 rook with the queen, also back rank mating White. White is stumped!
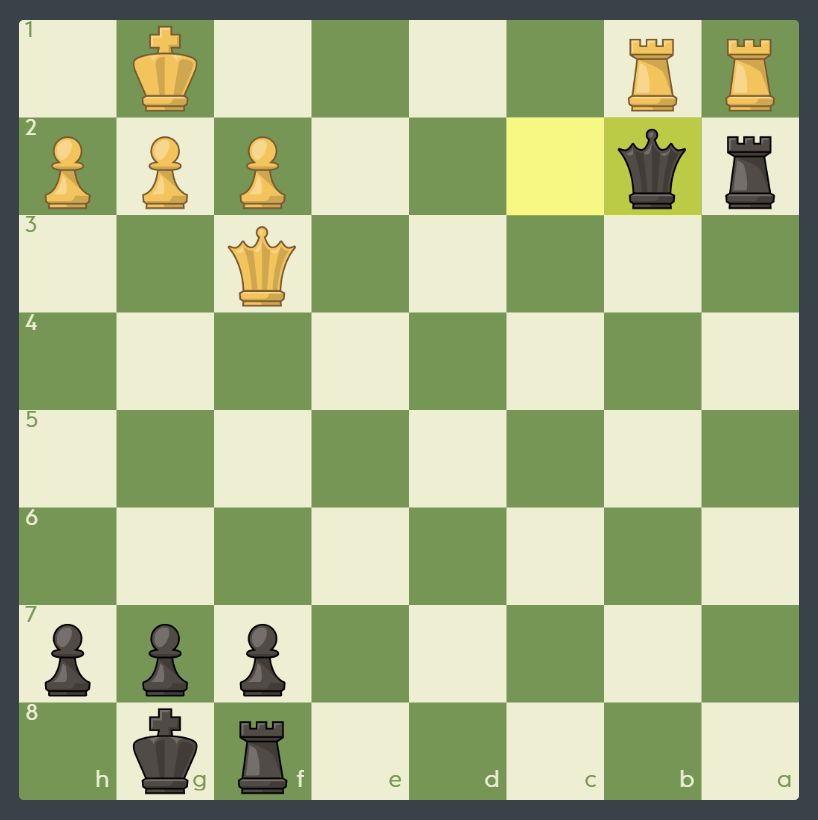
White plays the only move that defends both the b1 rook and the a1 rook. However, this queen was “overloaded.” Can you see what she left behind?
This question does not end with a back rank mate. White defended by placing the queen on d1. But White left another weakness. Now look at how strong the queen and rook look on the 2nd rank!
You did it! You took advantage of what the white queen left behind. This time, you exposed the 2nd rank! Black’s attack is now unstoppable.
The black queen and rook aren’t done working together just yet…
That’s checkmate!